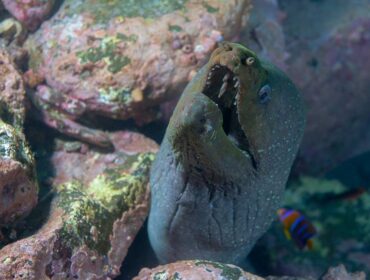
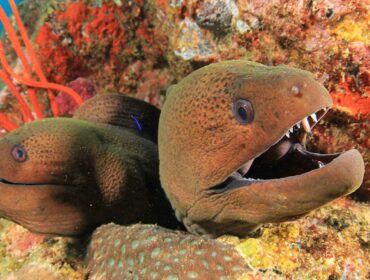
Scuba divers, for as long as we can remember have had a fascination with eel sightings. We’ve heard divers narrate their giant eel or other eel encounters post-dive with just as much gusto as shark sightings are expressed. Often sighted concealed in their labyrinthine lairs, with only their heads peeking out from the rocky shadows towards open water, eels posses that mesmerizing unblinking stare that sometimes cause diver to stoop in their tracks. But it’s their jaws that open and close ceaselessly, showing off a fierce array of backward-pointing, needle-sharp teeth that makes divers back up just a tad in. But there’s more to these predators than meets the eye. Here’s a closer look at the timeless and slithery moray eel.
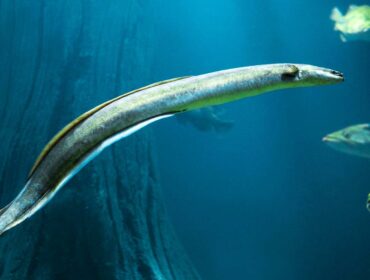
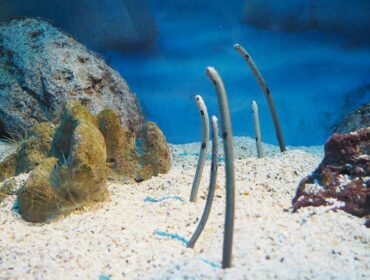
The predatory eel comes from the Anguilliformes order of fish and have a long snake-like body. There are over 600 species of eel in four suborders and 19 families, one of which is the Muraenidae family more commonly known as the family of Moray eels with 200 species within it. From tropical to temperate waters, tidal pools formed to rocky habitats, wrecks, and reefs and down along coral walls leading down to the abyss, wherever there is a suitable crevice, one is almost certain to find a moray eel of one species or another.
Moray eels secrete a mucus over their smooth skins in greater quantities than other eels, allowing them to swim fast around the reef without fear of abrasion. Contrary to belief the moray eel does not bare its open jaw to display aggression but simply to breathe. Morays are frequently thought of as particularly vicious or ill-tempered animals. In truth, morays hide from humans in crevices and would rather flee than fight. Attacks on humans are very rare and mostly only in self-defense or when humans are stupid enough to try and feed them. They have poor vision and rely mostly on their acute sense of smell, making distinguishing between fingers and held food difficult.
Here’s a look at some species of Moray Eels you may encounter during dives-
Honeycomb Moray Eel
Peppered Moray Eel
Blue Ribbon Moray Eel
Snowflake Moray Eel
Green Moray Eel