Are you thinking about learning how to scuba dive? And are you curious about all the important things you should know about when planning that first dive? Then this scuba diving for beginners guide is for you! It’s a great choice to look into scuba diving.
Any passionate scuba diver will tell you that diving is an amazing hobby to have. It allows you to explore the world in a unique and pristine way. It’s a fun activity to do while on a holiday and it’s also a great way of meeting people and making new friends.
Almost anyone can become a scuba diver
Yep, that’s right. Scuba diving is available for almost anyone – and probably also for you. From the age of 8, children can practice scuba diving in shallow water. And from the age of 10 and older, everyone can start their journey in learning how to scuba dive in the ocean and lakes. There’s no height or weight limit and equipment comes in all sizes. Everywhere around the world there are dive shops that offer try out dives, often called the “Discover Scuba Dive”. The shops will be happy to guide you on your first steps in the magical world of scuba diving.

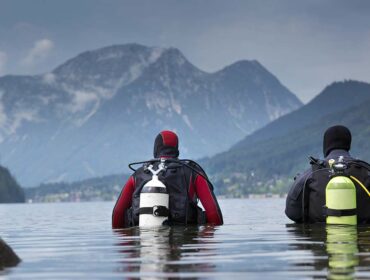
You can dive anywhere in the world
Did you know that there is diving literally anywhere in the world? Scuba diving is done in fresh water lakes and in the salty ocean. And scuba diving is not just for tropical places either. Ice diving is big in the colder parts of the world such as Alaska as well as Canada. There, divers learn to dive in warm dry suits that protect them from the cold.
Diving in the desert? Also possible. The locals of Las Vegas dive in Lake Mead (one of the top rated fresh water lakes in the world for scuba diving). Even if you think there might not be any diving near you, you’d be surprised what a quick Google search for “scuba diving near me” can help you uncover.
Or, you can choose to make your first dive somewhere tropical on holiday! This is the way most people get introduced to scuba diving. While on holiday, you can visit a dive shop and sign up for a discover scuba dive. Or, directly sign up for a full Open Water course, which is the course that certifies you as a recreational scuba diver.
Discover Scuba Dive vs Open Water Course: What’s the Difference?
When you just want to have a taste of scuba diving, the “try dive” is the way to go. By just making a try dive, you don’t get certified or need a certification but you will experience what scuba diving is like. A qualified instructor will be with you at all times guiding you. You start with some important theory, a few practice exercises in a confined water space (often a pool) and finally you make one or two dives no deeper than 40 feet. You do it all usually on the same day. Then afterwards, once you got hooked (which we expect), it’s time to start thinking about getting scuba certified. It is also possible to dive straight into getting scuba certified, without any try dive.
Getting scuba certified means you follow a course that includes several swimming pool sessions, a theoretical exam, and at least four dives in the ocean or a lake. When you’re on holiday, the course usually takes only three to four days. You start with a theoretical part, followed by practice in the pool, and then one or two dives. The exact build up and execution depends on the certification agency and the dive shop. Many dive shops offer you to study for the theoretical part online at home. This way, you can arrive on holiday prepared.
Local dive shops usually spread their courses over a certain period of time. For example, you may start with once-a-week instruction for 5 weeks. Then, you’d follow with a theoretical part of 30 minutes. Finally, you’d have a one-hour practice session in the swimming pool. Ultimately, you’d finish with four Open Water dives.
What agency should I pick to get my scuba certification?
With more than 100 recreational scuba diving agencies out there, it can become a bit of a maze quite quickly to figure out what exactly you need. Don’t worry, we’re here to make it easier for you. The two most common and well-known agencies worldwide are PADI and SSI. Most divers are certified through them and they have extensive training programs all the way up to becoming a dive instructor.
PADI and SSI are represented the most by dive shops and their teaching methods are recognized everywhere. However, it’s very possible the dive shop near you offers something different than PADI or SSI. Just have a chat with your dive shop and ask them questions such as:
- Is this certification recognized worldwide?
- Can I go on a diving holiday with this certification?
- Are there any limitations compared to the PADI/SSI Open Water certification?
For your convenience we’ve written a full detailed guide on everything you need to know about Scuba Diving Certifications.
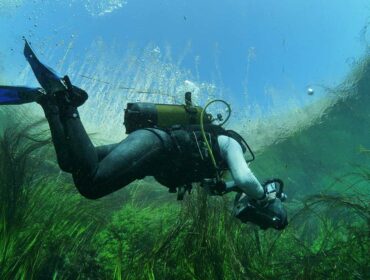
What will I see on my first dive?
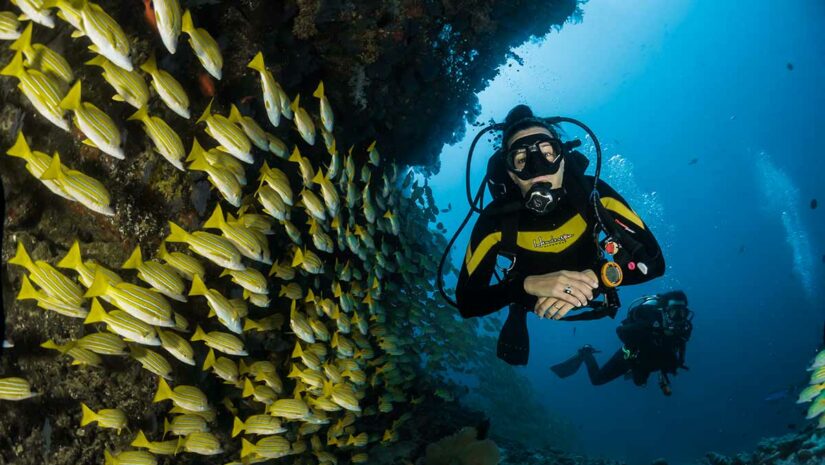
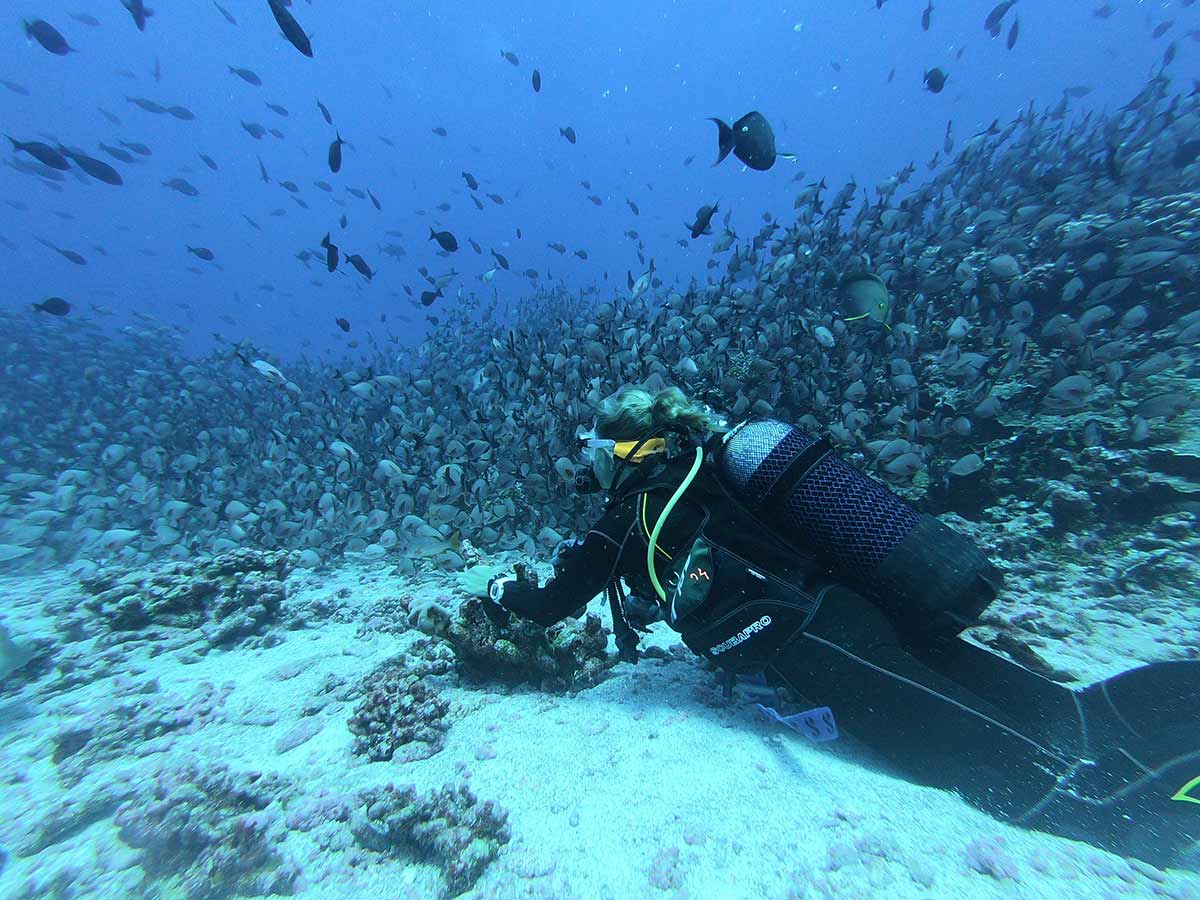
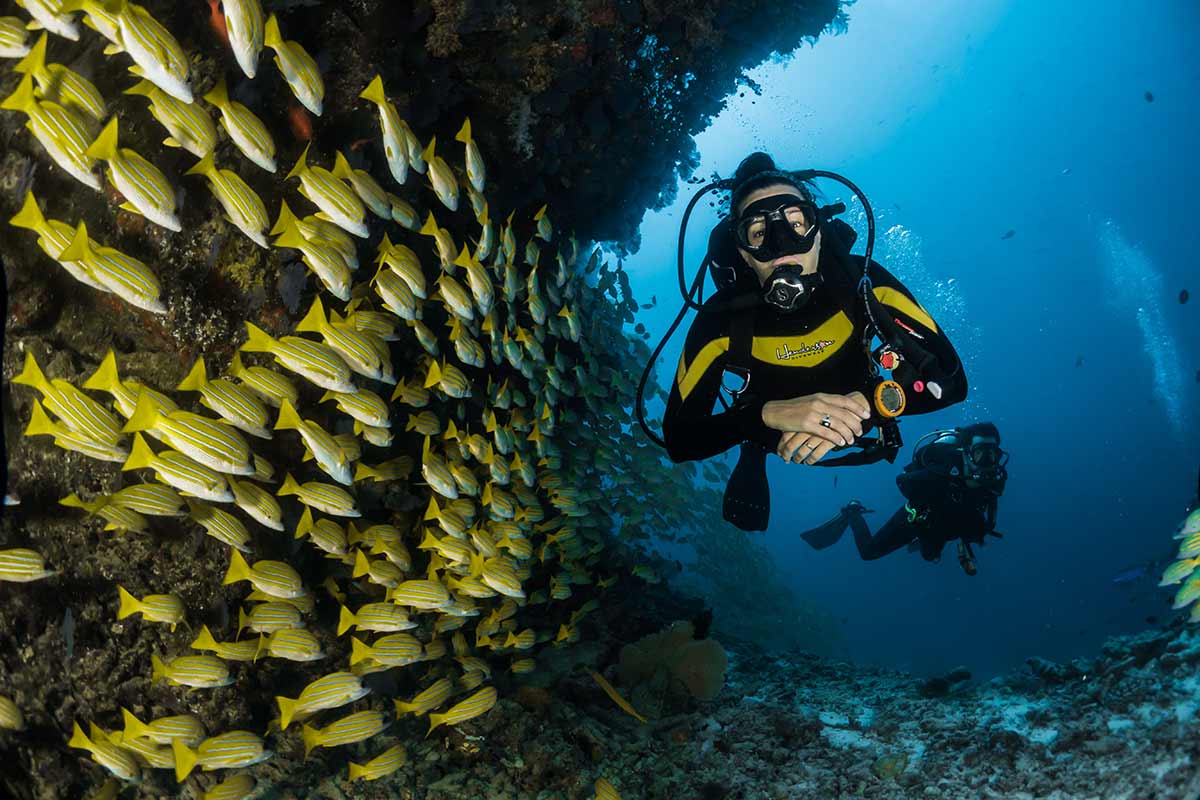
That all depends where you make your first dive! Are you going to a tropical place in the Caribbean? Then expect beautiful colorful fish, possibly a ray cruising by. If you’re super lucky, you may even see some dolphins! The topography will also amaze you, and view hard and soft corals in a variation of sizes.
The visibility (how far you can see underwater) can vary per location. Most places in the Caribbean can go up to 150 feet. Around Hawaii, the waters are super clear and you can spot large pelagic life such a big Manta Rays. It’s also possible your instructor will take you to see something artificial such as a sunken wreck that you can admire from the outside if it’s not too deep or even sunken statues that make up an underwater museum.
If you’re diving in a lake, then wrecks and such are also very likely as well as fresh water fish and lobsters. Did you know that on the bottom of the Dutch Springs there are car, bus, fire truck and boat wrecks, plane wrecks, and several platforms? And that’s just a few of the things that sunk there over time. It’s like an attraction park underwater with koi, rainbow trout, and largemouth bass swimming about.
How much does your first Scuba Dive cost?
The cost of a scuba dive really depends on where you go diving. If you go to Koh Tao, a small island in Thailand with roughly 50 competing dives shops, the cost for your first try dive can be as low as $80. Bonaire prices also start around $90 for one shore dive. But if you go to the Big Island of Hawaii, where operation costs are higher, a single shore dive may be closer to $200, or $300 for two boat dives. These prices usually include the use of all scuba diving equipment, but make to sure to check as it’s sometimes charged separately.
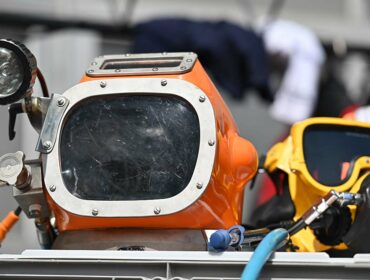
What equipment do I need for my first dive?
There is a lot of different equipment involved when scuba diving. But what do you really need when you’re just trying it out for the first time? The easy answer: Nothing. The shop will supply the equipment and all you’ll need to do is show up with a bathing suit. But there are a few considerations.
Diving mask
Firstly, a diving mask. This is important not only for hygienic reasons, but also for the fact that a good fitting dive mask can make or break your dive. A good diving mask fits well around your face — it’s not too tight and not too loose. It doesn’t let any water in during the dive and it doesn’t fog up either. Having a good diving mask means you will get to enjoy your dive a lot more. It’s also very useful to have if you like snorkeling with good visibility. In that case, get a nice matching snorkel. There are many sets available in every color.
Dive computer, boots, fins, wetsuit
Other equipment you want to consider buying once you get into scuba diving is a dive computer, boots, fins and a wetsuit. But wait until after your first dive. Not only will you have a better idea how you like scuba diving, you’ll also have had the opportunity to use some shop equipment first. This will help you decide on which brands, fits, and styles work for you. There’s a lot of choices when it comes to scuba diving equipment.
Is scuba diving safe?
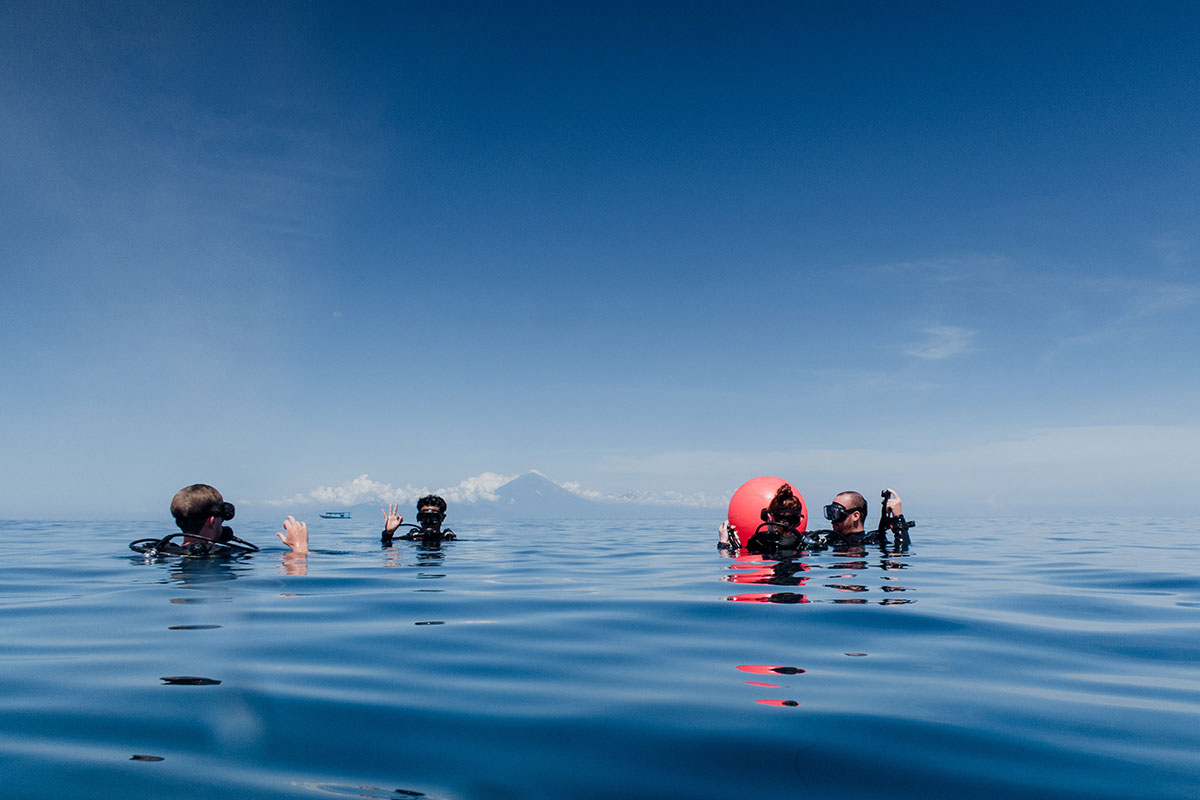
Scuba diving is a very safe sport when practiced sensibly. Every day, thousands of people go scuba diving and fortunately, accidents are rare. It’s very important to always dive within your limits. Only make dives that you are trained for. Or in case of your first dive, go diving with a scuba diving professional that is trained for guiding new scuba divers. He or she will guide you every step of the dive making sure your dives are safe and enjoyable.
Once you’ve decided to get scuba certified, it’s important you pay attention to the theoretical parts taught in the course. Your Open Water course will include all safety aspects you should keep in mind as a responsible scuba diver. This is also the moment you start thinking about purchasing all your own equipment and make sure it’s maintained properly at all times. Finally, always dive with a buddy.
Health limitations for scuba diving
When you sign up for your first dive, the dive shop will ask you to answer a questionnaire about your health through a medical statement. The purpose of this medical statement is to find out if you need to visit your physician prior to diving. This is a very important step in becoming a scuba diver as safety always comes first. Best practice is to ask for a copy of the medical statement when signing up so you can go over it at home.
And please, don’t immediately worry if you tick one of the boxes. Often, a follow-up with your physician will help to answer questions and to get the green light. Of course, never take any medical advice from anyone except licensed physicians. Contact your doctor with any questions regarding your health for scuba diving.
Scuba diving for beginners: 5 tips to make your first dive a success
1. Don’t leave any question unanswered
Got a question? Ask your instructor! They’re there for you and expect you to ask them questions. This way you will start your dive without any doubts. Knowledge is key!
2. Contact the dive shop ahead of time
Of course you can drop in at a dive shop at random, but if you like to be prepared, contact your dive shop ahead of time. See what’s offered and decide who to book with after having a chat with them. You can also already discuss the medical statement and any other questions you might have.
3. Take your time to practice your underwater exercises
Don’t ever feel or get rushed, as some skills might take a little bit of time to practice in pool. Allow yourself this time so once in the open water, you don’t have to worry about them.
4. Always stay close to your instructor
Your instructor will stay close to you to begin with, but make it a priority to do the same. If you’re with a friend doing your first dive and you both swim in opposite directions, you’re making it quite difficult for the instructor to stay with you both. So always stay close to each other.
5. Enjoy yourself!
Don’t expect to be the perfect scuba diver on your first dive. You weren’t on your first driving lesson either, and that’s totally okay. The instructor is there with you to keep you safe and having fun. Just make sure you enjoy experiencing the beautiful underwater world you’ve just entered for the first time.
Written by: Rianne Poesse
Rianne Poesse is a passionate scuba diver and writer. She is the founder of the scuba blog Dutch Mermaid and travels around the globe, exploring the underwater world. She writes articles for travel agencies and dive magazines. When diving, she always has a camera with her and you can follow her on YouTube to get inspired about your next scuba holiday.